Sub-Systems
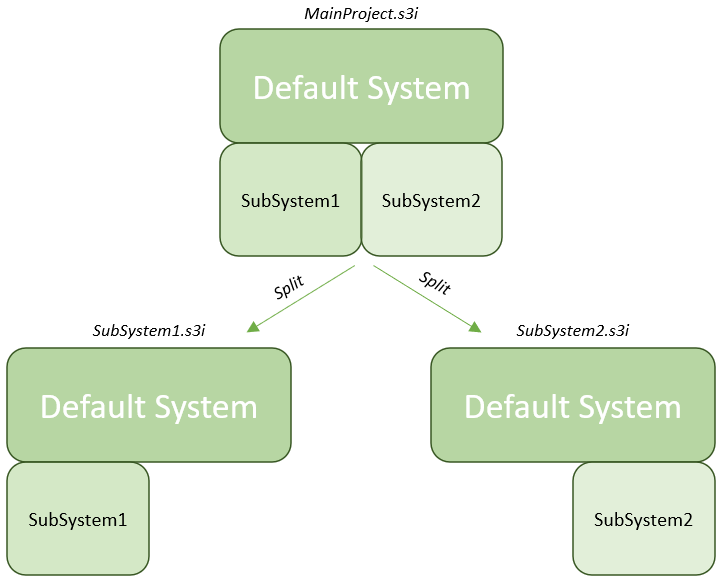
Usually in Sym3 all the every object (equipment, images , devices) are part of one system and only one engineer can work on it. For very large systems it will be beneficial to split the system into smaller parts so multiple engineer can work on it simultaneously and later can merge it to one complete system.
In Sym3 these separate parts are called ‘Sub-Systems’.
Choosing a good sub-system separation
It is important that the sub-systems are not dependent on each other otherwise merging it back can be tedious because of same object modification on multiple parts.
Sub-Systems should be as isolated as possible and the common object should be moved to default sub-system which will be including in each part at the time of separation.
To simplify object moving to sub-system, there are following options.

Creating Sub-Systems
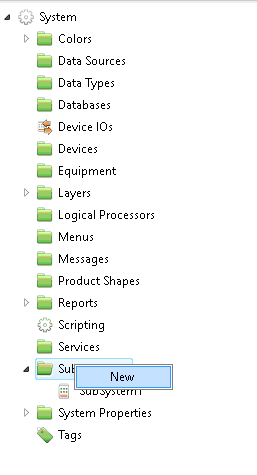
To create Sub-Systems, go to the Project Explorer in the Sym3 main window, right click on the ‘Sub-Systems’ folder and select ‘New’. Create as many Sub-Systems as you intend to use. Sub-Systems can be named to reflect their purpose.
Assigning sub-system to components
You can also use the box selection tool to select multiple components independent of the assigned layer or pick single components or other Sym3 object for sub-system assignment. A combination of these approaches may be necessary to achieve the desired result.

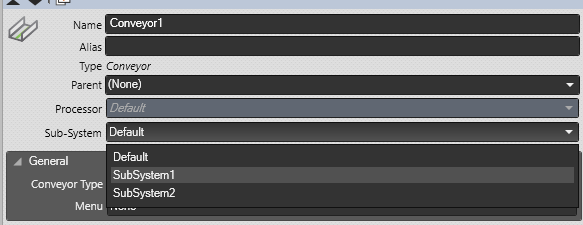
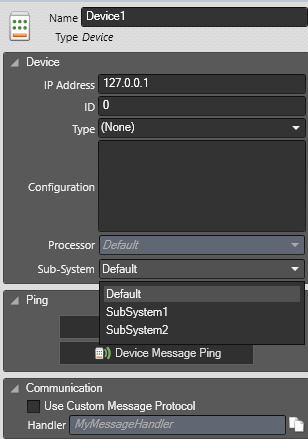
After selecting components or objects for sub-system assignment move to the Properties panel and select the desired Sub-System.
Clicking on a sub-system name within the Project Explorer selects and highlights all components that are assigned to that sub-system.
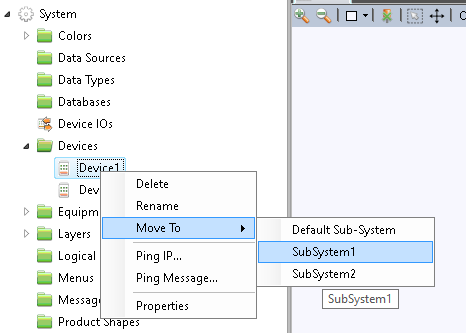
Saving Sub-System
Once a sub-system assignment is completed now it can be separated as standalone project. To do that right click on a sub-system and select Save As. A dialog will appear to choose where to save the file.

When saving , all the components and object assigned to that sub-system alone with the component’s and object of Default sub-system will be moved to copied to separate project