Azure EntraID Configuration for Sym3 Auth Server
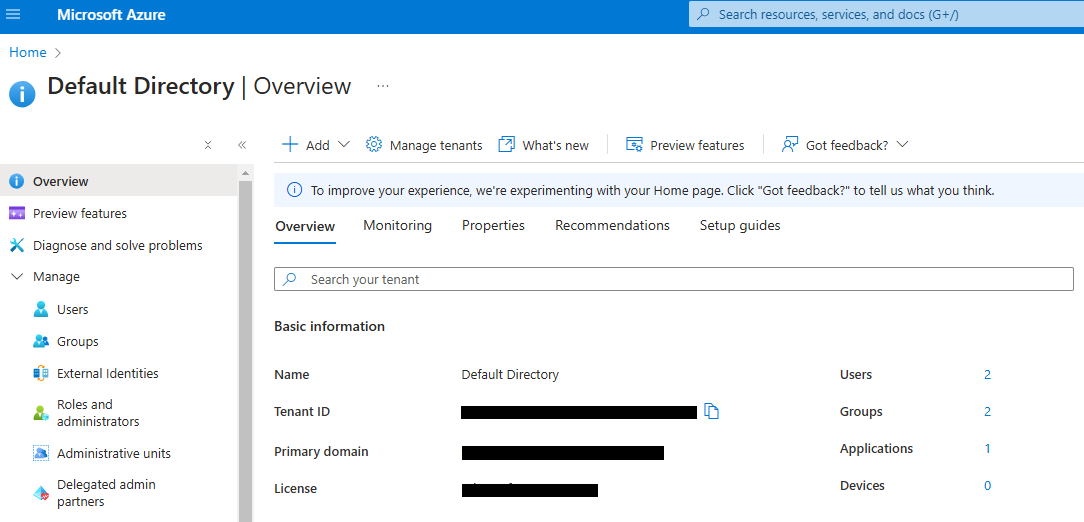
Log in to the Azure portal and navigate to the Entra ID service overview page. This page provides links to manage applications, users, and groups
Register an Application
An application must be registered and configured in the Sym3 Auth Server to enable Entra ID authentication. Click the number next to ‘Applications’ to open the Applications page.
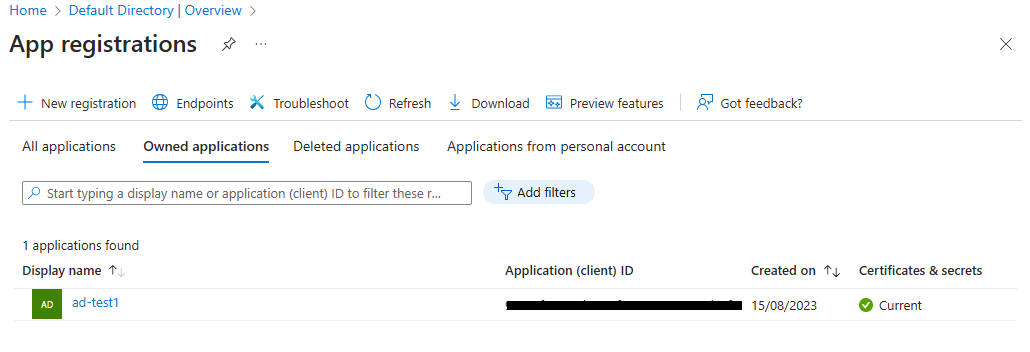
Click ‘New registration’ to register a new application.
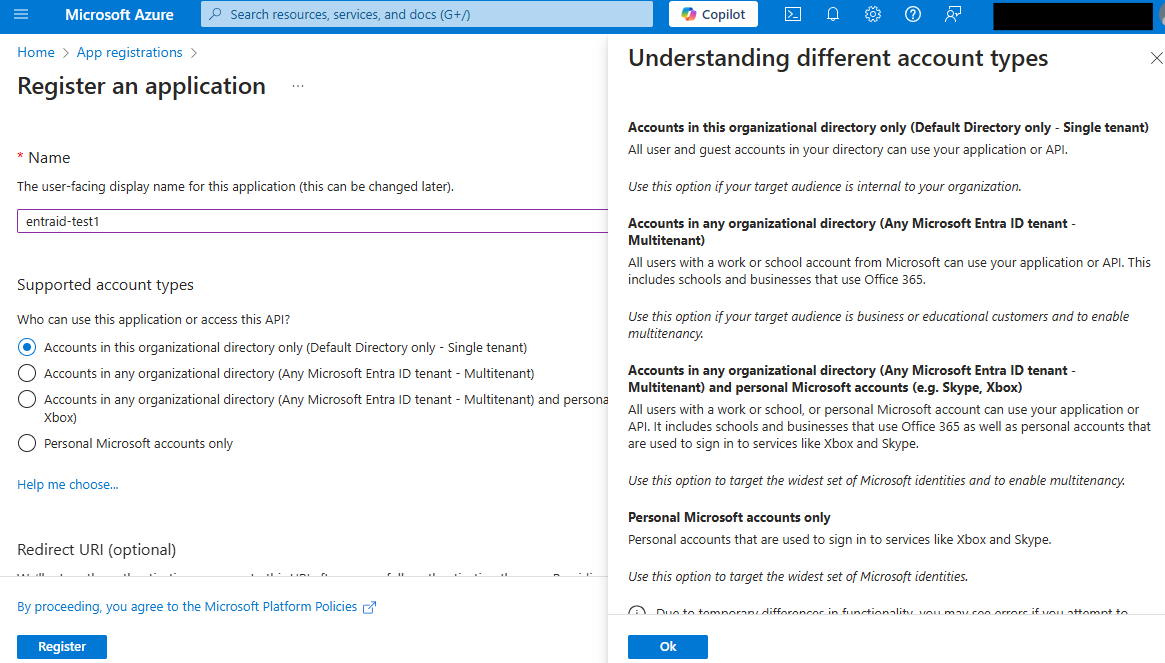
Provide a name for the application and select the supported account types. Consult with the IT department to determine the appropriate option. Click the ‘Register’ button to submit the request.
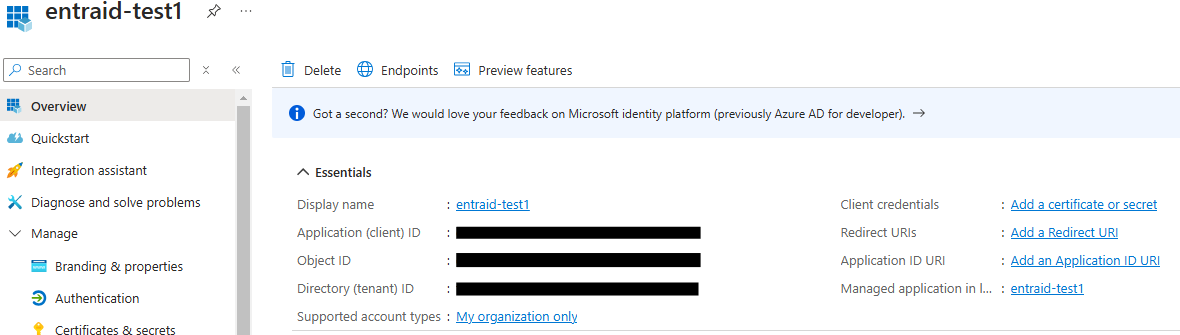
Application Configuration
Click the newly registered application to open its details page
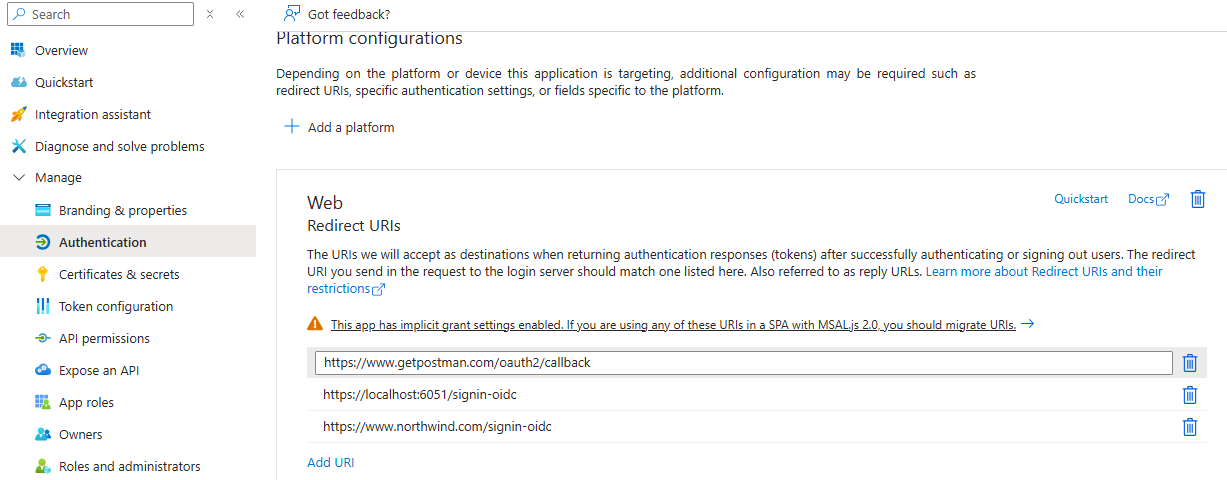
Authentication Configuration
This page allows you to configure the redirect URIs, which specify the destinations where authentication responses (tokens) are sent after users successfully authenticate or sign out.
Certificates & secrets
Click ‘Certificates & Secrets’ to open the secret management page. Then, click ‘New Client Secret’ to create a new secret. Be sure to store the secret securely, as this is the only opportunity to copy it.
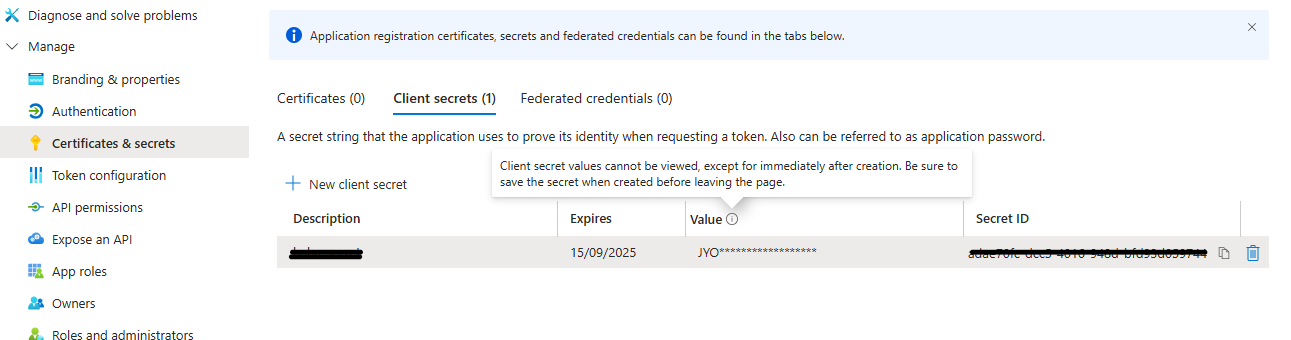
The tenant ID, client ID, and client secret will be used in the Sym3 Auth Server configuration.
Token Configuration
This configuration determines the claims to include in the tokens.

email, family_name, given_name are required in the ID and access tokens for displaying Sym3 user details.
Click ‘Add Groups Claim’ to include security groups in the token. The group claims will be used for Sym3 role mapping
Group Configuration
Click the ‘Groups’ menu item from the Entra ID directory overview page.
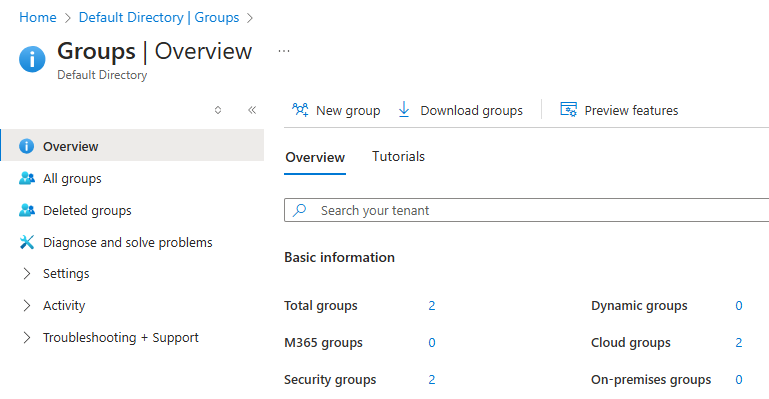
Click the number next to ‘Security Groups’ to open the security group management page.
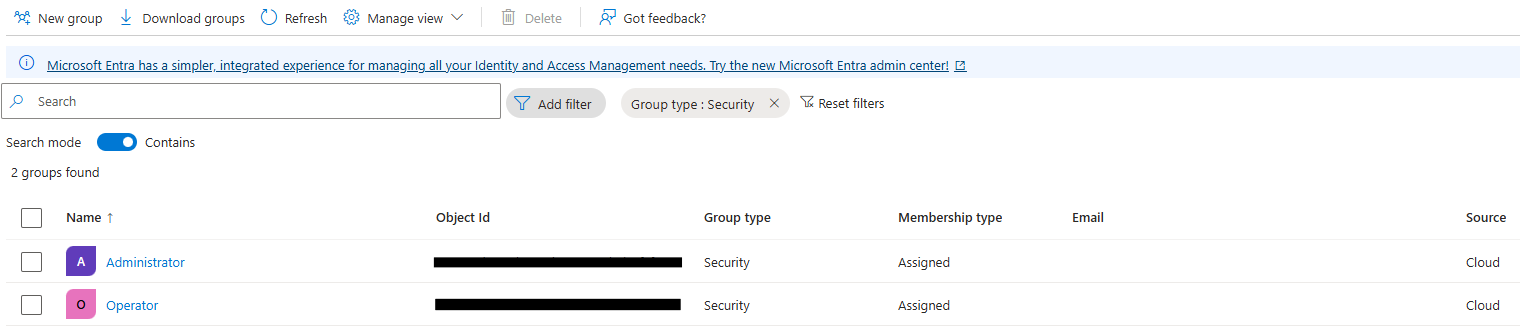
Most Sym3 Operator projects have ‘Administrator’ and ‘Operator’ roles. Create new groups for these roles or use existing groups for mapping.
The group ID will be used in the ‘Project Role Mapping’ table of the AuthServer Settings page.