Creation of an Add-in for Sym3
This article describes how to create an Add-in for Sym3 using Visual Studio.
In order to simplify the creation of an add-in for Sym3, a template for Visual Studio has been created. The template provided is for Visual Studio 2019 and .Net Framework 4.8 (Sym3 version 9.11 minimum required).
1. Download and install the template
Download the template for Visual Studio and .Net 4.8 and copy the zip file under:
'C:\Users\xxx.yyy\Documents\Visual Studio 2019\Templates\ProjectTemplates\Visual C#'
Where ‘xxx.yyy’ is your user name.
IMPORTANT: DO NOT unzip the file.
2. Create your first add-in
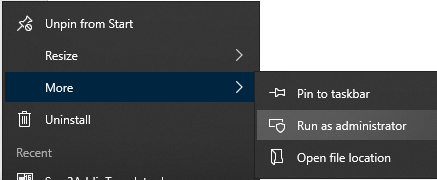
Start Visual Studio 2019 as administrator. Right-click on “Visual Studio 2019” icon and “Run as administrator”
Select “Create a new project”:

In the “Search for templates”, type “Sym3”:
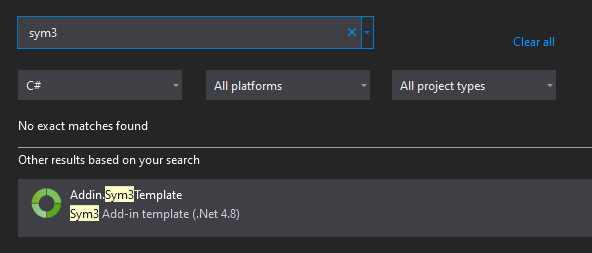
Double-click on “Addin.Sym3Template” Change the name of your addin, select the location.
IMPORTANT: The project name MUST start with “Addin.”
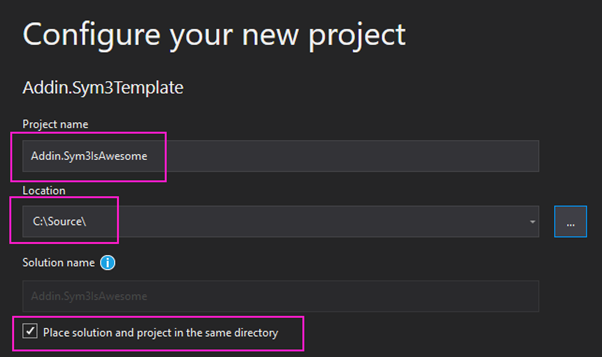
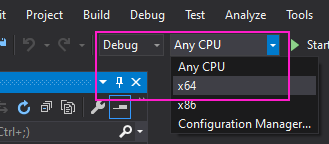
Click “Create” Change the solution platform to x64:
3. Build your add-in
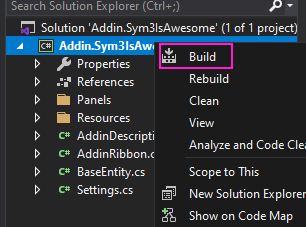
Right-click on your project and build:
By default the output is set to be:
“C:\Program Files\Sym3\Sym3 Integrator”
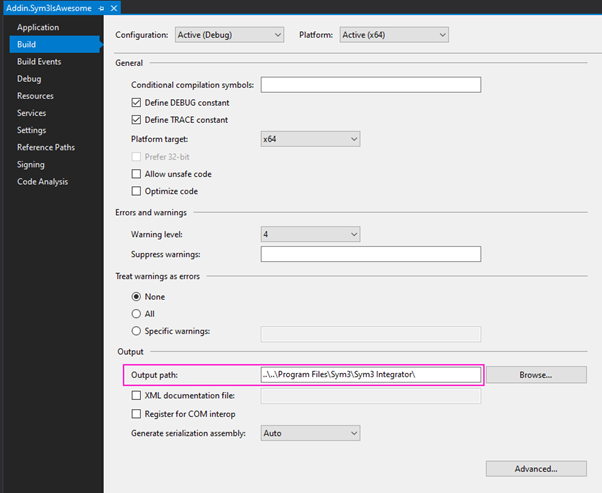
After building, you should have a DLL here:
"C:\Program Files\Sym3\Sym3 Integrator\Addin.Sym3IsAwesome.dll"
4. Debug your add-in
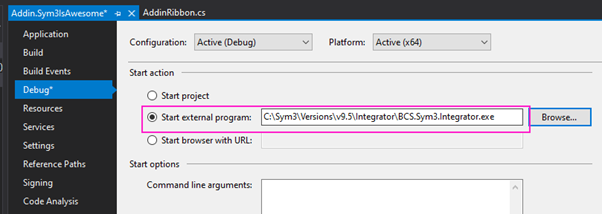
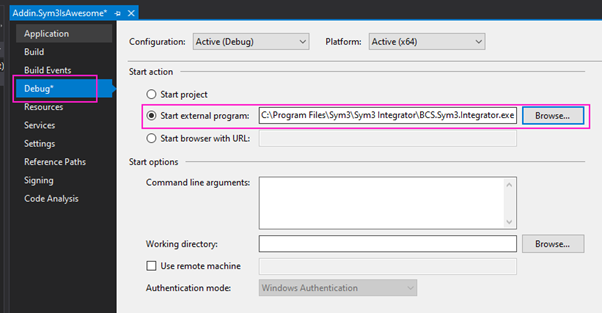
Right-click on your project > Properties > Debug > Start Action and select Sym3 Integrator executable like this:
Open file AddinRibbon.cs and put a breakpoint here:
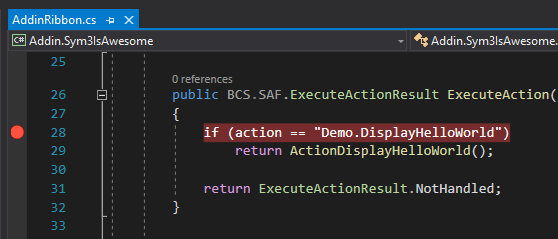
Press F5 to start in debug mode. Sym3 Integrator should start. Click on this button:

Visual Studio should break at the line:
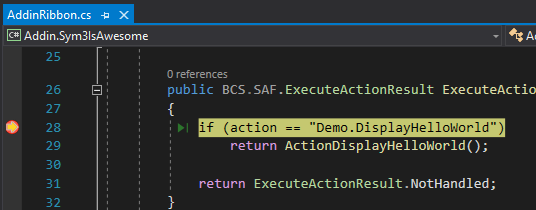
5. To not run in Administrator mode
The reason to run in administrator mode is for Visual Studio to be able to write the DLL in the output folder: “C:\Program Files\Sym3\Sym3 Integrator”
An alternative is to copy the entire Sym3 Integrator Application in another folder. For example:
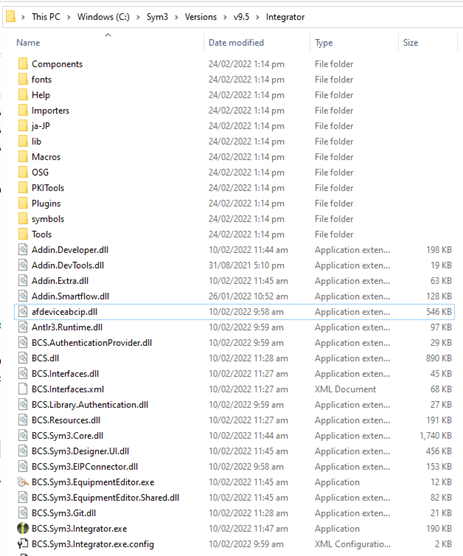
Then in Visual Studio, you need to update the location of the references:
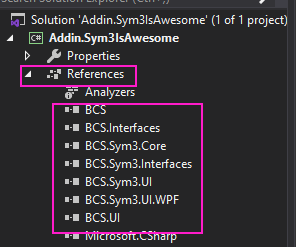
And the ‘Debug’ properties like this:
